
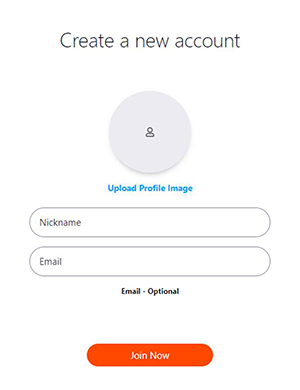
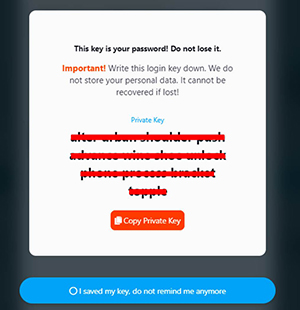
To create an account, navigate to the sign-up page at https://brighteon.io/registration and provide all the necessary information, including your desired username, email address, and profile image. After filling out the details, click on "Join Now" to proceed. Complete the registration process by successfully completing the captcha. Upon completion, you will be directed to a page displaying your private key. It's crucial to copy and securely save this key for future reference.
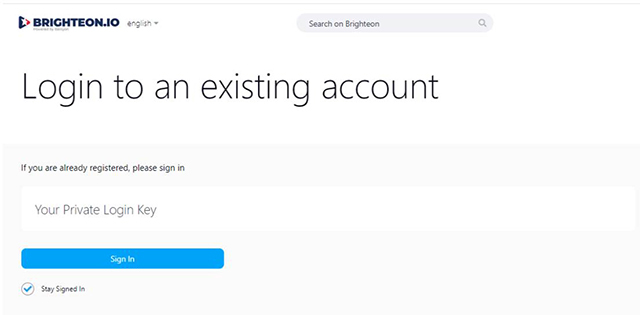
Go to https://brighteon.io/authorization and sign in using your private key.
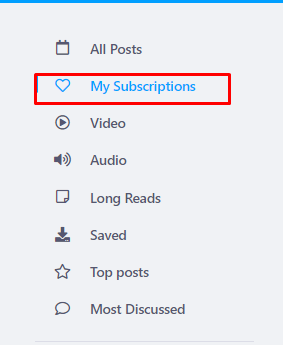
To discover user profiles and content, use the menu in the left column of the site. The different areas include:
This section allows you to browse posts shared by all users on the platform.
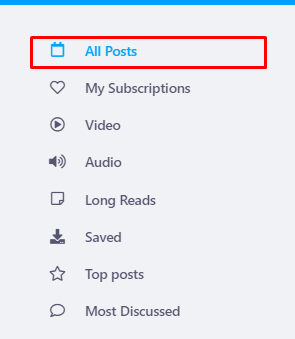
This is the space where you can explore posts from the users you follow.
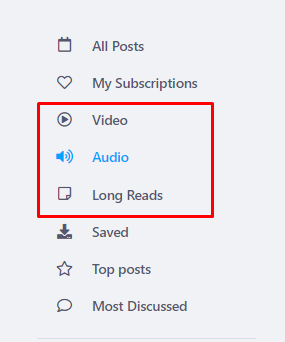
In this section, you'll discover a compilation of video, audio, and longer-form written content contributed by all users.
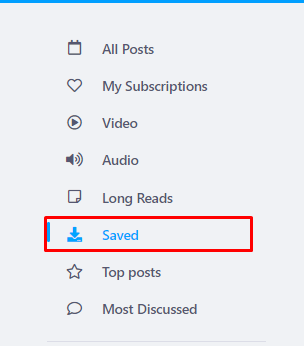
This is where you will see all the post you saved.
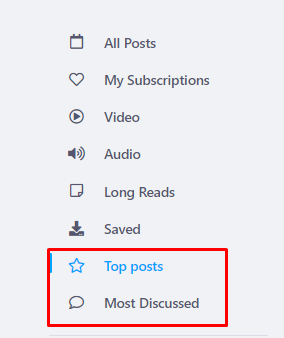
This is where you'll find top-rated posts and those with the most comments
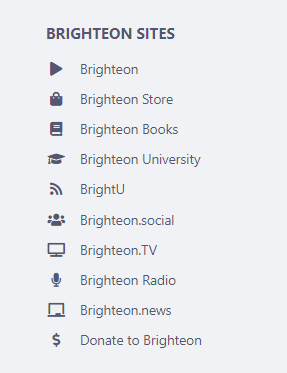
This section will allow you to access all sites of Brighteon.
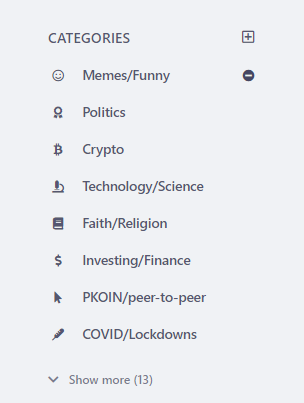
This is where you can see post from specific categories. You can customize this section base on your preference by clicking the plus icon to add or clicking the minus icon to remove a category.
Clicking the bell icon will show the notifications.
Clicking the heart icon will show all activity on your account.

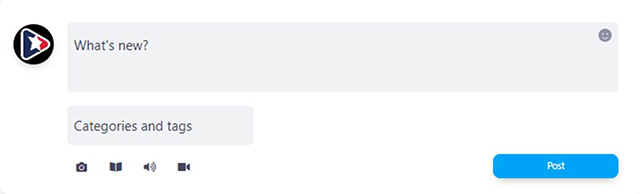
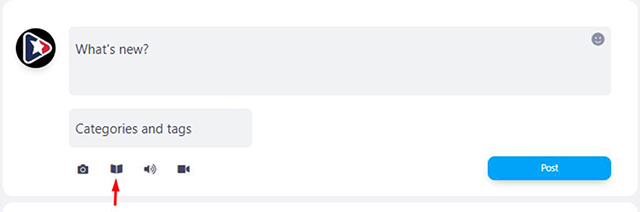
On the homepage, you'll see a box titled "What's New?" and in this box, you can say anything you, attach and image, upload audio or video, write an article, or paste a URL link to a website you find interesting. You can also click on the "New Post" link at the bottom of the left column menu, and a pop-up window will show where you can create a post.
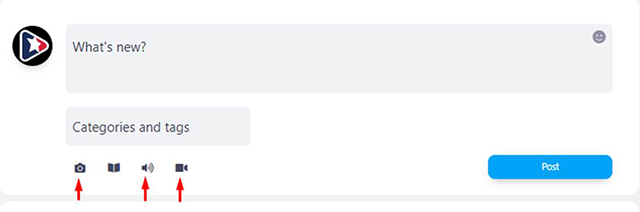
To attach an image, video or audio file, click the appropriate icon. This will open a window on your computer where you can browse and select the file you want to attach. Once you choose the desired file, it will be uploaded to Brighteon.io. You can review the post and the attached file before submitting.
Please note that attaching a video requires a minimum 5 PKOIN and up to 4GB file. Visit the FAQ page to learn more about video upload and acquiring more PKOIN.
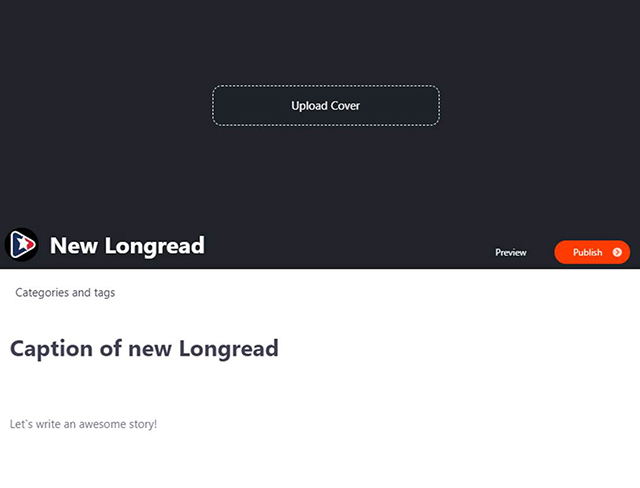
By clicking the book icon under create new post, it will route you to a page where you can write your awesome story. You can also customize the cover page, title, caption, tags, and categories.
Here are some things you can do with posts on your timeline:
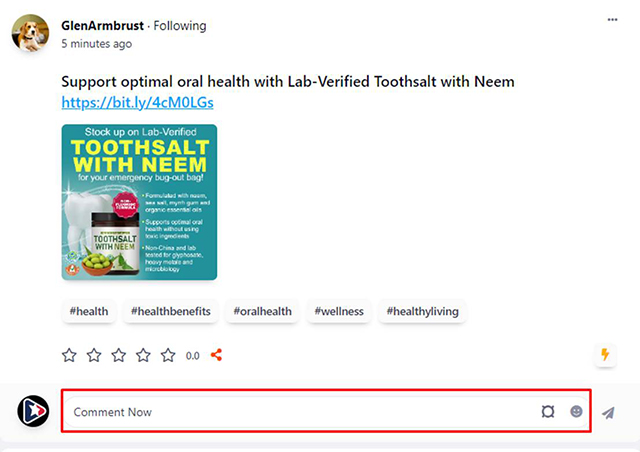
To comment on a post, enter your response below any post in the "comment now" box. You can also use emojis or send PKOIN.
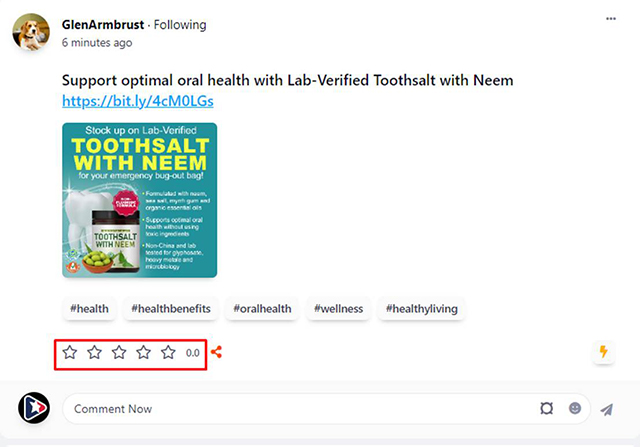
Give a start rating on a post to show how much you liked it.
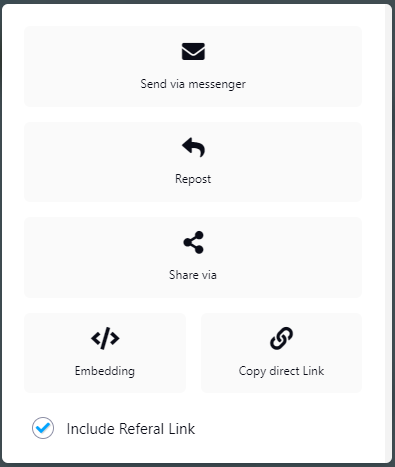
By clicking the share icon beside the start rating on a post, it will allow you to repost on your timeline, share the post to social media sites, send via message, or copy the direct link or embed code.
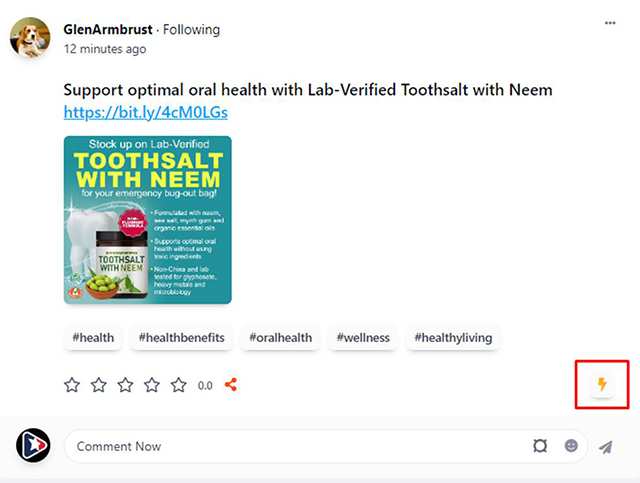
By clicking the thunder icon on the post, you are able to boost the post in order to reach more audience using PKOIN.
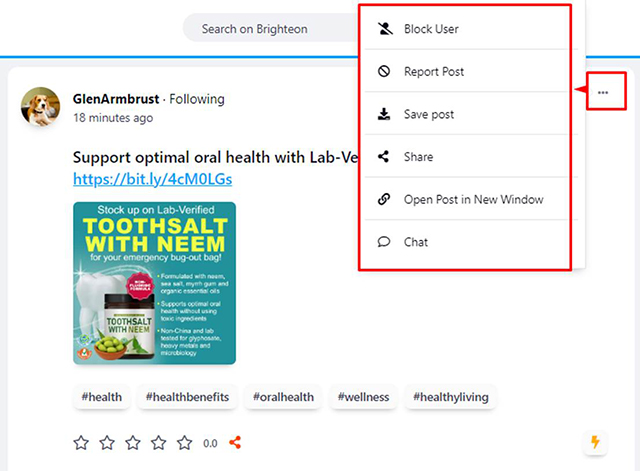
Click the three-dot icon on the upper right corner of the post to see more options like Block user, Report post, Save post, Share, Open in new window, or chat with the user.
To access direct messages, click on the bubble icon found on the lower right of the page.
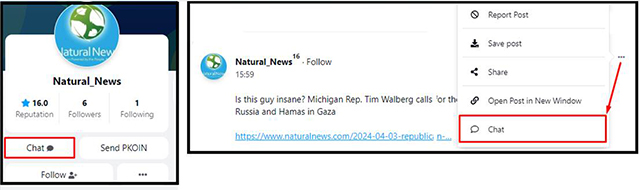
There are two way to star a chat with another user: First is by clicking more options on their post and click chat. Second is by visiting their profile and clicking the chat icon
The chat tab allows you to create public and private group chats with other users by clicking the plus icon.

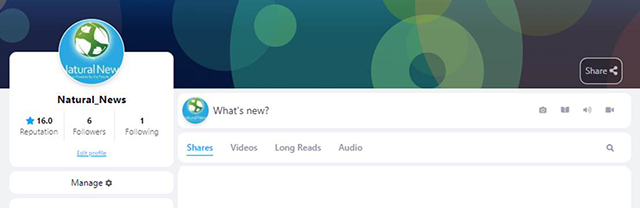
To access your profile page, simply click on your avatar found at the upper right corner of the homepage. On your profile page you can see all your posts, current reputation rating, number of followers and following, link to edit and manage your profile
On this page, you can edit your profile, manage settings and see more details about your account.
Shows all notifications and activity on your account
Shows your current account reputation and status. Click "Learn more about reputation" under the limits tab to see more details on how to improve the reputation and status of your account.
Shows updated amount of PKOIN you have on your profile. You can also send PKOIN to other users from this page and see all the transactions.
This page will show you the total PKOIN you've earned thru donations and transfers.
This page allows you to edit details on your profile like about myself, preferred language, website, or even add other crypto wallet address for donation.
This is where you can change the settings of the base on your preference.
Shows other profiles that you have accessed and added for quick switch.
This page shows more information about servers, nodes and Api.
Shows list and details of all your videos.
This gives you the option to view and save your private key.
Learn more about Pocketcoin by visiting the FAQ page.
You can also visit this page to learn more on how to purchase PKOIN.
See more information about Brighteon.io by visiting the FAQ page.
On this page, you can download the application, view the FAQ, see the roadmap, guide and more information about Brighteon.io. Visit the help center here.
Visit https://brighteon.io/applications to download Brighteon.io app for mobile and desktop.
Simply click "Download" on the application page, then open the file to finish the setup.